Pages

Friday 21 January 2011

Jorjus Jeans

Well this is not the usual blog entry, this is something very special. My daughter has been working hard making this bag using an old pair of jeans as her base.  She has stitched her words so beautifully using stem stitch and my candlewicking thread. I  made her the big beautiful flower using my Big Shot and Circles #2 die.  Flowers is the theme on this side of the bag.
 And the other side is hearts. The Heart to Heart punch has also been used as a fabric template.  
Well it all got finished, after many patient hours of work, complete with a lovely inside lining with a zipped pocket, ready to use on our day out to Napier yesterday.  We had planned a day out for ages, and it finally happened.  She was given some lovely compliments for her bag.  I am really proud of her efforts and the final finished product.
The inspiration for this flower and the way it is constructed came from a pillow we saw.  I figured this would be a creative way to use the circles, creating them into a flower and using another circle as a centre.  I have yet to see how I can take this principal into card stock.  Hope you have enjoyed sharing another side to the creativity at our home.  There has been lots of thread to vacuum this week.  Did you know how many varied uses the Big Shot really has?? 

Thanks for stopping by

Tuesday 18 January 2011

Sunset Birthday Card

My oldest son had his birthday the other day, first ever away from home.  With my brayer arriving during the week it was time to start learning how to use it.  I wanted to make a special card, a blokes card.  Well here's my card.  I am fairly happy with it.  The only thing with having a brayer is wanting more ink colours and needing to buy reinkers.  Lots of fun though.  There are some amazing video tutorials out there, as it's been a while since High School art classes mucking around with a brayer. 
I had a few goes with torn paper and punched circle to effect the hills and sunset image.  This was inspired by the most amazing sky at night here the other week.  Nature is such an inspiration, we really only recreate what has already been created.
This is the sunset we had in Havelock North viewed from our lounge window.  So beautiful, love the silhouette of the street light.
I am pleased Mr M liked his card and parcel of goodies for his birthday.  I am assured he had a great day.  He was impressed that I had made this card for him.

Thanks for stopping by

Tuesday 11 January 2011

Faux Silk

It's my turn to show you Faux Silk.  I first saw it done by Sharlene Meyer at a team meeting a long time ago, and Bron Heslop reminded me again, with her lovely faux silk, that I really should be giving this a go.  So here it is.  I stamped this image at our last team meeting and hadn't used it yet.  I just love this stamp set. 
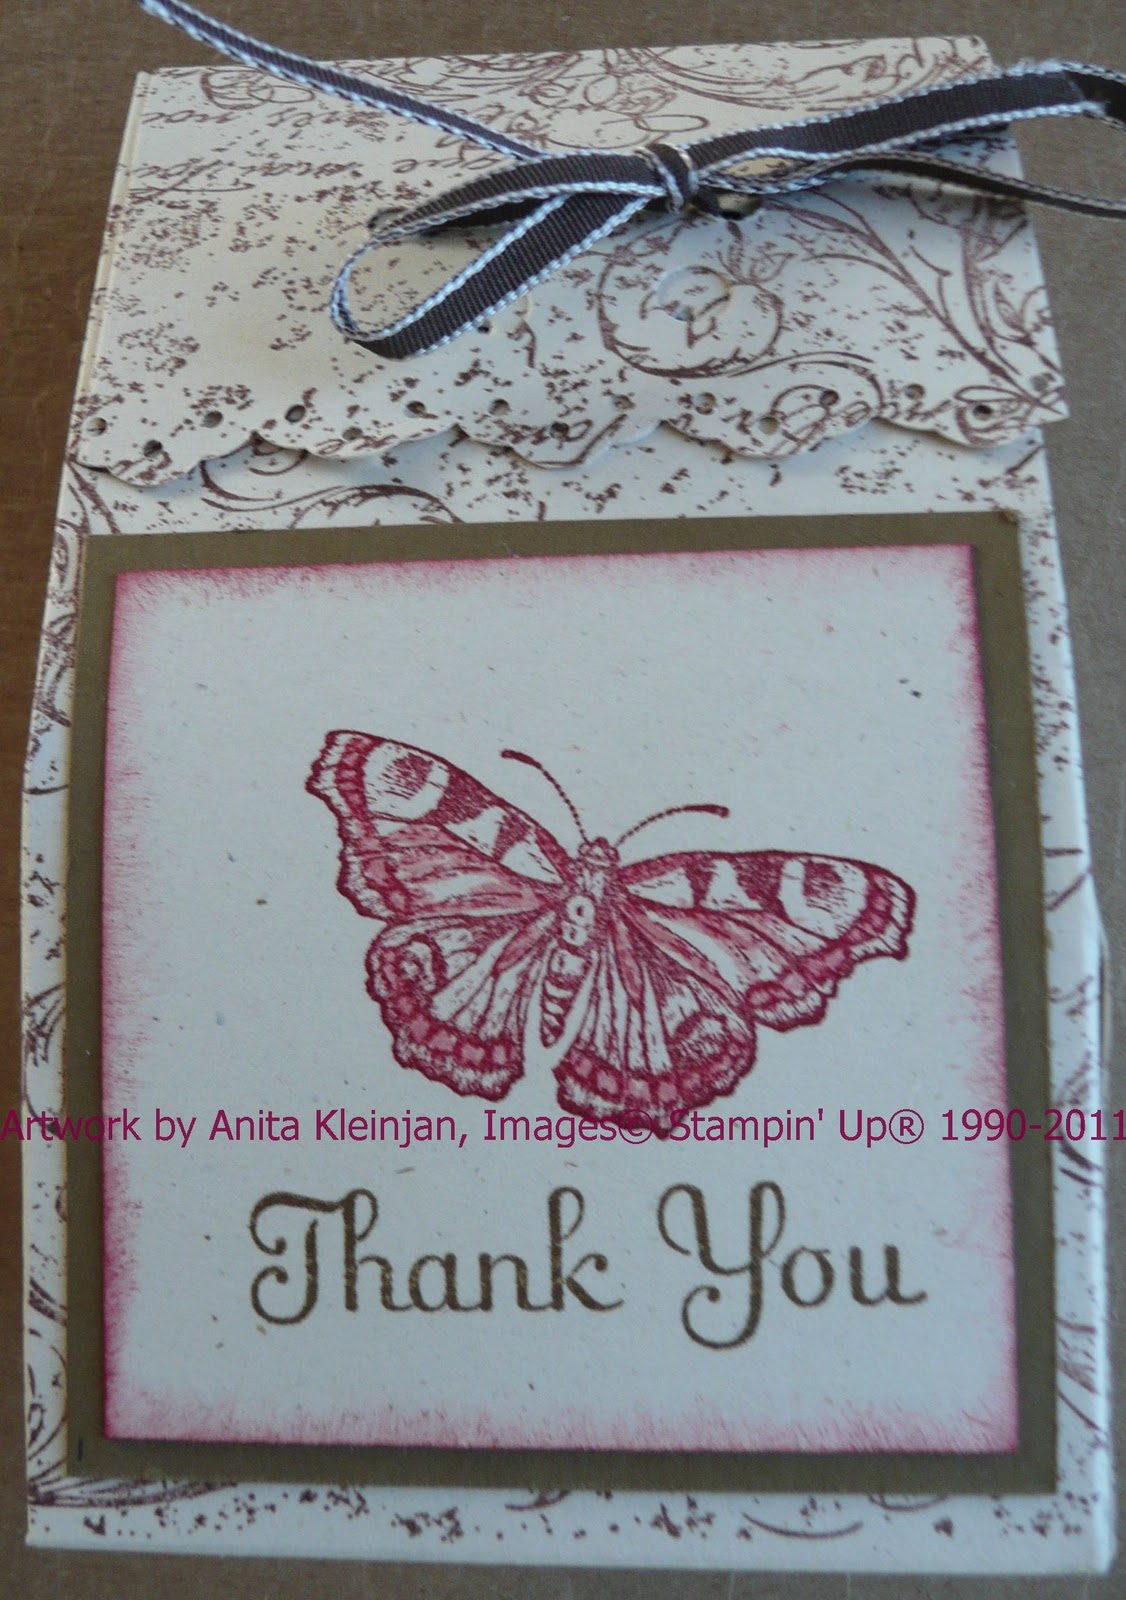
On my background card I have used two stamped images on top of each other to create my own DSP.  I have used white card stock with 'Sanded' and the small  flower from 'Flower Fancy' both stamped in Rose Red ink and then embossed in the square lattice embossing folder that is available in the Summer Mini Catalogue for $19.50 + p&h.  The effect of this embossing folder reminds me of old fashioned wallpaper. Nothing like being low on some coloured card stock to put your thinking cap on and let the creative juices flow.

Stampin' Up! supplies:
Stamp sets: Flower Fancy, Sanded & Just Believe
Ink: Rose Red, Old Olive
Card Stock: Whisper White, Old Olive, Rose Red
Other: Tissue, Anywhere Glue Stick, Square Lattice Enbossing Folder

Thanks for stopping by

Thursday 6 January 2011

Vintage Wheel 2-5-7-10 box

This box is so easy to make up, and can be made with so many different theme's and looks.  I made this one using my "Very Vintage" wheel and a simple greeting on the front of the box.  This wee box is made using one sheet of cardstock and fits an entire packet of lollies in it.  You can also put a packet of Herseys in it.  Make a matching card and you have a lovely wee present that is just so classy. The pattern for this can be found on http://www.splitcoaststampers.com/resources/tutorials/2_5_7_10_box/.  Have a go and see for yourself  what a versatile wee box this is. 

 I sponged the flap edge and punched it with the scallop edge punch.  

Hope you are having a happy crafting day.

Thanks for stopping by.  

Saturday 1 January 2011

Treats for your Sweets Promotion

Stampin' Up! ® have again delighted us with a promotion which runs from 
          30 Dec, 2010 - 24 Jan, 2011.


Thanks for stopping by