Pages

Friday, 25 February 2011

Flower Fancy - Bright and Cheerful

To all in Canterbury who have been affected by the earthquake, thoughts and prayers go your way.  My two sons who live and study in Christchurch are safe and are able to help others at this time.  The university is closed for 3 weeks.  It is a stressful time for all, with the ongoing aftershocks.  We are still so blessed though to have infrastructures in this country where help is so generously given and where we see people working so efficiently to have power and water restored as soon as possible to those without.  Sympathy is extended to any who have lost loved ones, or are unsure at this stage of there whereabouts.  
Today I want to show you what I came up with when playing with templates.  I wanted to use a large stamp with a clear outline.
 "Flower Fancy" has a wonderful clear large outline flower stamp in it's set, so that's what I used. I stamped onto the Pumpkin Pie card stock with Pumpkin Pie ink.  I then cut straight lines using my Fiskars cutter, up to the image line.  I then cut the rest of the flower out by hand.  I also cut out large flowers stamped onto DSP to match the Baja Breeze card stock.  The smaller flower is also cut out of DSP and layered on top.  The strips of chocolate chip card stock slot in and over under layers.  The leaves were created using the Big Shot and the Leaves #2 die and then crimped.  It's probably not my most exciting card ever, but I liked how I achieved the flower template using a single layer of card stock. The colour inspiration came from the DSP Greenhouse Gala.  What do you think!!!

Thanks for stopping by

Wednesday, 16 February 2011

Gift Basket using own DSP

It's definitely time to say HI! again.  Today I'm sharing a basket and matching accessories I made as a gift to my downline when she joined my team.  It's made using a 12" x 12" piece of card stock.


Here's the 12" x 12" card stock flat.  I have used Stampin' Up! jumbo Antique Brass eyelets on the corners to thread the ribbon through.  The images that are stamped on the corners matching the Garden Green card stock were stamped using Versamark ink.  Versamark is a water marking ink and could well be renamed 'Versatile ink' as it's a great way to always have matching ink on card stock.  A 'must have' in that stash of craft materials.
I only had a limited amount of Sunny Garden DSP so decided to improvise and make my own to match.  Using the stamp set "Cottage Garden" and also the wonderful "In colour" inks, Peach Parfait, Pear Pizzazz, Blush Blossom and Poppy Parade, I stamped them on Whisper White card stock.  I knew these would compliment the Sunny Garden DSP perfectly. 
Here's the matching CD case I made to pop in my basket, this is using a piece of my home made DSP, and of course with a butterfly from the embosslit "Beautiful Wings" using Peach Parfait card stock. 
Here's the matching card, little bag of accessories as well as other goodies, using of course my wonderfully created DSP.
Hope this inspires you to take a fresh new look at the products you have and invent new ways to use them. 
Thanks for stopping by

sale-a-bration 25 Jan - 31 Mar '11

Stampin' Up!'s yearly sale-a-bration promotion is again offering wonderful Free Stamp sets.  So who wouldn't want to take advantage of this amazing offer today. 
Contact me today to have a fun night with a group of friends (with qualifiying sales) or place an order over $120 to qualify for free stamps.  Take advantage of this limited edition offer. 

Click on the sale-a-bration picture to your left to view stamp sets available 

Workshop bookings valid for Hawkes Bay, New Zealand ONLY
Looking forward to hearing from you soon

Friday, 21 January 2011

Jorjus Jeans

Well this is not the usual blog entry, this is something very special. My daughter has been working hard making this bag using an old pair of jeans as her base.  She has stitched her words so beautifully using stem stitch and my candlewicking thread. I  made her the big beautiful flower using my Big Shot and Circles #2 die.  Flowers is the theme on this side of the bag.
 And the other side is hearts. The Heart to Heart punch has also been used as a fabric template.  
Well it all got finished, after many patient hours of work, complete with a lovely inside lining with a zipped pocket, ready to use on our day out to Napier yesterday.  We had planned a day out for ages, and it finally happened.  She was given some lovely compliments for her bag.  I am really proud of her efforts and the final finished product.
The inspiration for this flower and the way it is constructed came from a pillow we saw.  I figured this would be a creative way to use the circles, creating them into a flower and using another circle as a centre.  I have yet to see how I can take this principal into card stock.  Hope you have enjoyed sharing another side to the creativity at our home.  There has been lots of thread to vacuum this week.  Did you know how many varied uses the Big Shot really has?? 

Thanks for stopping by

Tuesday, 18 January 2011

Sunset Birthday Card

My oldest son had his birthday the other day, first ever away from home.  With my brayer arriving during the week it was time to start learning how to use it.  I wanted to make a special card, a blokes card.  Well here's my card.  I am fairly happy with it.  The only thing with having a brayer is wanting more ink colours and needing to buy reinkers.  Lots of fun though.  There are some amazing video tutorials out there, as it's been a while since High School art classes mucking around with a brayer. 
I had a few goes with torn paper and punched circle to effect the hills and sunset image.  This was inspired by the most amazing sky at night here the other week.  Nature is such an inspiration, we really only recreate what has already been created.
This is the sunset we had in Havelock North viewed from our lounge window.  So beautiful, love the silhouette of the street light.
I am pleased Mr M liked his card and parcel of goodies for his birthday.  I am assured he had a great day.  He was impressed that I had made this card for him.

Thanks for stopping by

Tuesday, 11 January 2011

Faux Silk

It's my turn to show you Faux Silk.  I first saw it done by Sharlene Meyer at a team meeting a long time ago, and Bron Heslop reminded me again, with her lovely faux silk, that I really should be giving this a go.  So here it is.  I stamped this image at our last team meeting and hadn't used it yet.  I just love this stamp set. 
On my background card I have used two stamped images on top of each other to create my own DSP.  I have used white card stock with 'Sanded' and the small  flower from 'Flower Fancy' both stamped in Rose Red ink and then embossed in the square lattice embossing folder that is available in the Summer Mini Catalogue for $19.50 + p&h.  The effect of this embossing folder reminds me of old fashioned wallpaper. Nothing like being low on some coloured card stock to put your thinking cap on and let the creative juices flow.

Stampin' Up! supplies:
Stamp sets: Flower Fancy, Sanded & Just Believe
Ink: Rose Red, Old Olive
Card Stock: Whisper White, Old Olive, Rose Red
Other: Tissue, Anywhere Glue Stick, Square Lattice Enbossing Folder

Thanks for stopping by

Thursday, 6 January 2011

Vintage Wheel 2-5-7-10 box

This box is so easy to make up, and can be made with so many different theme's and looks.  I made this one using my "Very Vintage" wheel and a simple greeting on the front of the box.  This wee box is made using one sheet of cardstock and fits an entire packet of lollies in it.  You can also put a packet of Herseys in it.  Make a matching card and you have a lovely wee present that is just so classy. The pattern for this can be found on http://www.splitcoaststampers.com/resources/tutorials/2_5_7_10_box/.  Have a go and see for yourself  what a versatile wee box this is. 

 I sponged the flap edge and punched it with the scallop edge punch.  

Hope you are having a happy crafting day.

Thanks for stopping by.  

Saturday, 1 January 2011

Treats for your Sweets Promotion

Stampin' Up! ® have again delighted us with a promotion which runs from 
          30 Dec, 2010 - 24 Jan, 2011.


Thanks for stopping by

Wednesday, 29 December 2010

Strawberries for Christmas

I hope everyone had a lovely Christmas and had some special treats.  Most importantly, that they got some quality time in with family and friends.  Summer time in New Zealand means strawberries, and we have had plenty of those this summer in the Bay.  I decided already last year that my idea of a Christmas card would be a bit 'Kiwi-ana-ish'.  I did not manage to post cards last Christmas, but I did manage to get a  number out this year.  Here's one of the Christmas cards I promised to share, it's my take on a Kiwi Christmas card.
And because they have been picked oohh! so early in the morning, they have a bit of dew on them, to make them that much yummier. I picked strawberries in my youth, and you had to start work early!!
I hope you enjoyed this theme. I love how our Stampin' Up! stamp sets can be used in so many different ways, with different themes. 

Stampin' Up! supplies:
Stamp set: Tart and Tangy & Many Merry Messages
Cardstock: Old Olive, Cherry Cobbler and Whisper White
Markers:  Chocolate Chip, Cherry Cobbler and Garden Green
Other: Crystal Effects and Dimensionals 

Thanks for stopping by 

Friday, 17 December 2010

Happiness Is....

A while ago I bought this lovely wee plaque and it sits on my craft desk.  It's such an appropriate sentiment for me, especially placed by my stamp sets etc.  I love it because it reminds me to keep perspective on what's important.  I wanted to share it because while I'm looking forward to Christmas, I am looking forward more to being together as a family. Relationships are what makes life important and meaningful.
Paul said 
"for I have learnt to be satisfied with what I have.  
I have learnt this secret, so that anywhere, at any time, I am content.." 
Phillipians 4:11b-12a

Thanks for stopping by

Wednesday, 15 December 2010

Butterfly on Fern

When I chose the "Growing Green" stamp set, I thought I would have no trouble being creative with it, but it is taking a little work to find my Mojo with it.  I have coloured the fern with my pastels and then sprayed it with my new gold "Smooch Spritz".  I was quite surprised how bright green my Certainly Celery card stock looked between Early Espresso and Soft Suede card stock. It almost looks like the deleted Gable Green.
As I don't have every punch, I made my little tag, using the word window punch and cutting a straight edge on one side.  Sponging always adds such a lovely finish to projects, it softens edges and blends colours together subtly.
I love colouring in, so I have water coloured and cut out my butterfly. I rolled the edges up to give it a more authentic look, so it looks about to take flight.

Stampin' Up! supplies:
Stamp set: Growing Green, All a Flutter & Pocket Silhouettes
Card stock: Soft Suede, Certainly Celery, Early Espresso, Whisper White and Watercolour Paper
Other: Stampin' Pastels, Blender Pen, gold Smooch Spritz, sponges


Thanks for stopping by

Tuesday, 14 December 2010

Simply Said

It's about time I put a blog up, so here goes.  There have been such lovely projects to look at for Christmas and I have finally finished making all my Christmas cards, now for a few hours to fill them all in.  Once they are in the post I will share.
I was reminded recently how effective making your own designer card is. For this I pulled out my first ever Stampin' Up! stamp set that my daughter and I decided to purchase.  "Simply Said" has been well used at our house, with so many different ways to use it.  Here's a colour combo that has emerged and I must say, I quite like. Stamp up a sheet of A4 card and see how many cards or ways you can use up the whole sheet of card. I have some left over so I will be putting my thinking cap on how to use the rest.
I am not usually a purple girl, but I must admit that Perfect Plum has become one of my favourite crafting colours.  Pumpkin Pie is always a hit too.
I have made this flower using the Scallop Circle punch and Boho Blossoms punch.  I have put the flowers through my crimper and then smudged them with white ink.  A brad to finish them off, and they are ready to be worn on my card, a wonderful match for the rest of the outfit.
I also took up a challenge to add something to my blog that did not entail using the Big Shot.  I hope this satisfies that challenge Keryn!!

Stampin' Up! supplies used:
Stamp sets: Simply Said, Seasons of Joy & Fun & Fast Notes
Card stock: Early Espresso, Pumpkin Pie, Perfect Plum and Sahara Sand
Ink: Always Artichoke, Pumpkin Pie, Perfect Plum and Early Espresso
Punches: Scallop Circle and Boho Blossom

If you would like to order "Simply Said" for $58.95 plus p&h, then email me to place your order today. It's such a good value stamp set with 11 stamps in the set.
 
Thanks for stopping by 

Thursday, 2 December 2010

Circle Flower on DSP

I have had this DSP flower on my desk for a while now, with the intention of using it in a card.  Today I finally worked out how to finish it.  I have cut the circle using my Circles #2 die.  I have sponged the edges with Early Espresso ink to give it the distressed look.  I have used a layout from a Cardmaking, Stamping and Papercraft magazine. It's a good challenge to emulate an idea without having the exact supplies in hand.

The scallop edge is using 1" circles made into a template, traced onto card and then cut out.  This template is then traced and hand cut onto the desired card stock.
This doesn't have a home yet, but it's a good idea to have in the stash for that last minute "got to have a card" moment in your life.

Stampin' Up! supplies used are:
Card stock:- Naturals Ivory & Always Artichoke
DSP: Neutrals & Greenhouse Gala
Ink: Early Espresso
Ribbon: Early Espresso1/8" taffeta ribbon
Brad: Metalic 
Button: Subtles

Thanks for stopping by

Summer Mini Catalogue

The new Summer Mini Catalogue is now available, brimming with lots of new products and ideas. Product in the Summer Mini is available from 1 December 2010 until 31 March 2011. 

Book a workshop today, get some friends together and discover the new products and techniques that Stampin' Up! have to offer you.  I would love to share these with you.

Thanks for stopping by

December Frenzy 1 - 29 December, 2010

Stampin' Up! are going to give us a busy month.  December Frenzy specials are available now until 29 December, so place your order today to take advantage of these specials.  Those marked in red are reduced by 50%.

Page no's are for the current Idea Book & Catalogue.


Email me today to place your order.

Thanks for stopping by

Saturday, 20 November 2010

Summery Garden

Here's the share card I came up with for our Demo Day today.  It was such fun to be together again. Creativity abounded and it was fun to share and get new ideas.  Thanks Sharlene for organising this event. 

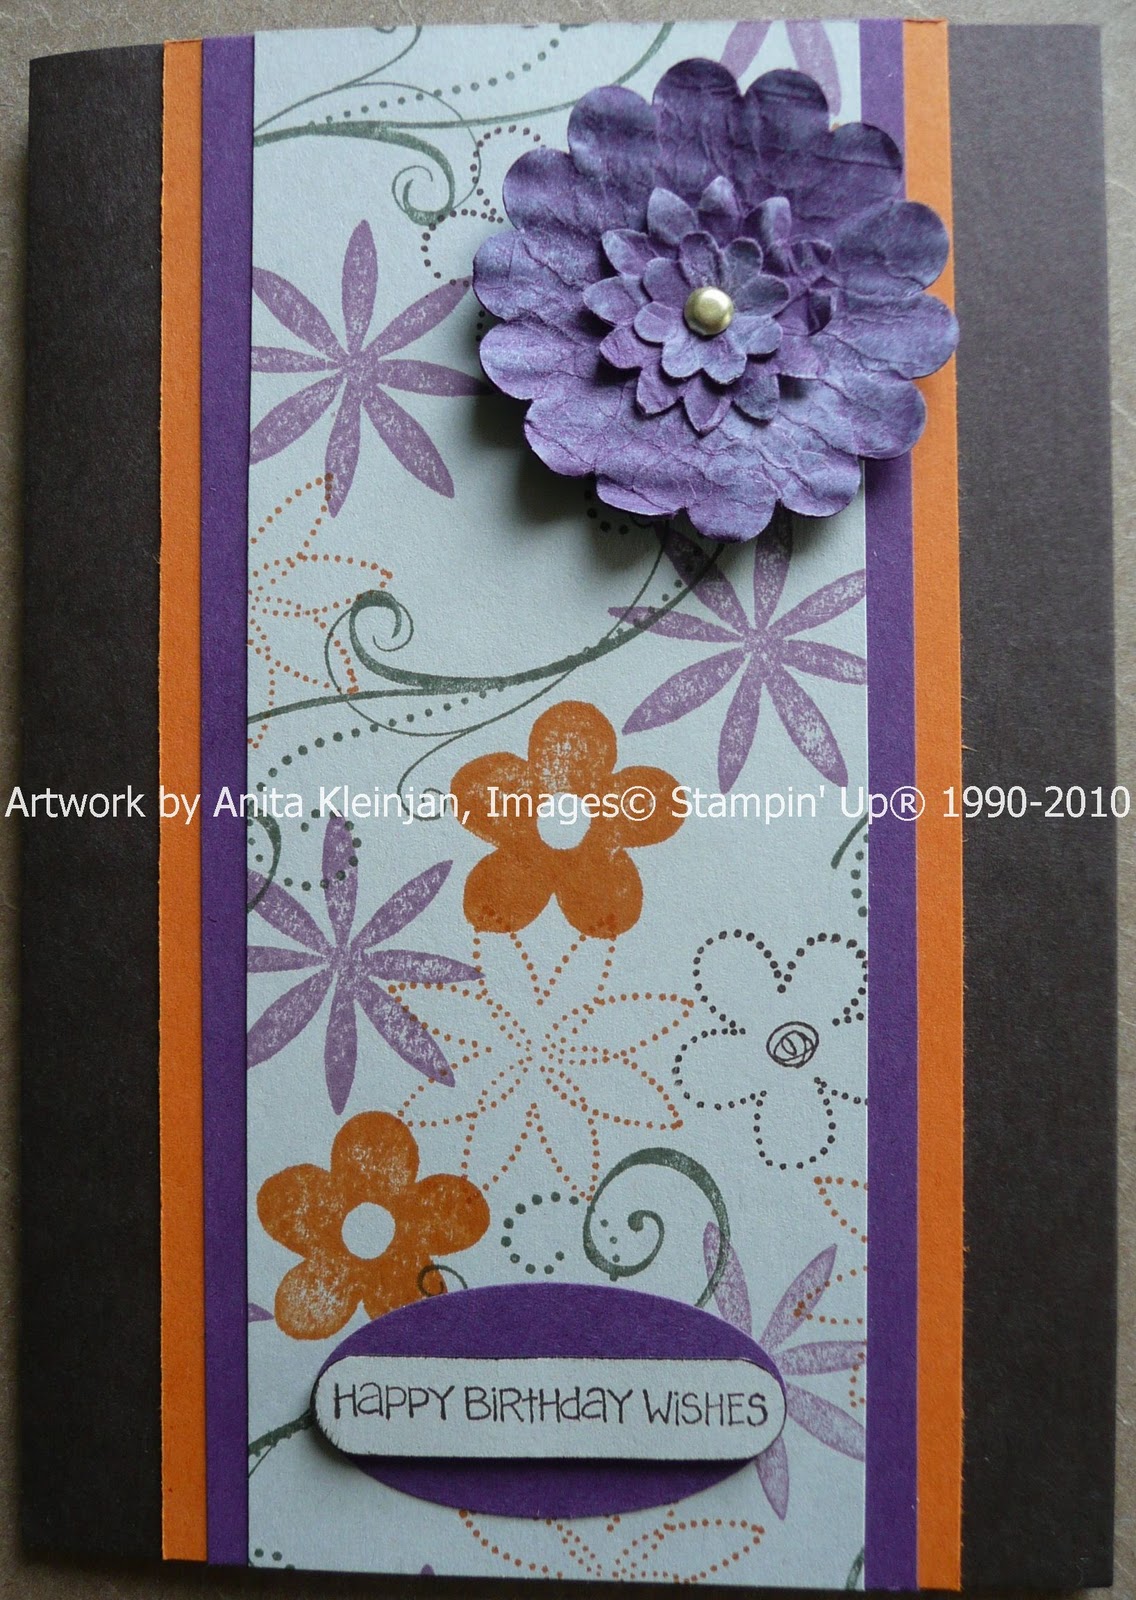
I have been playing with the colour combo of green and orange recently, being inspired by some of our Designer Series Papers.  Our Designer Series Papers use colour combinations that I would not think to use, so when I lay the paper out and then put the cardstock out that matches, (don't you just love how SU have this so sorted) I feel new MOJO emerging.
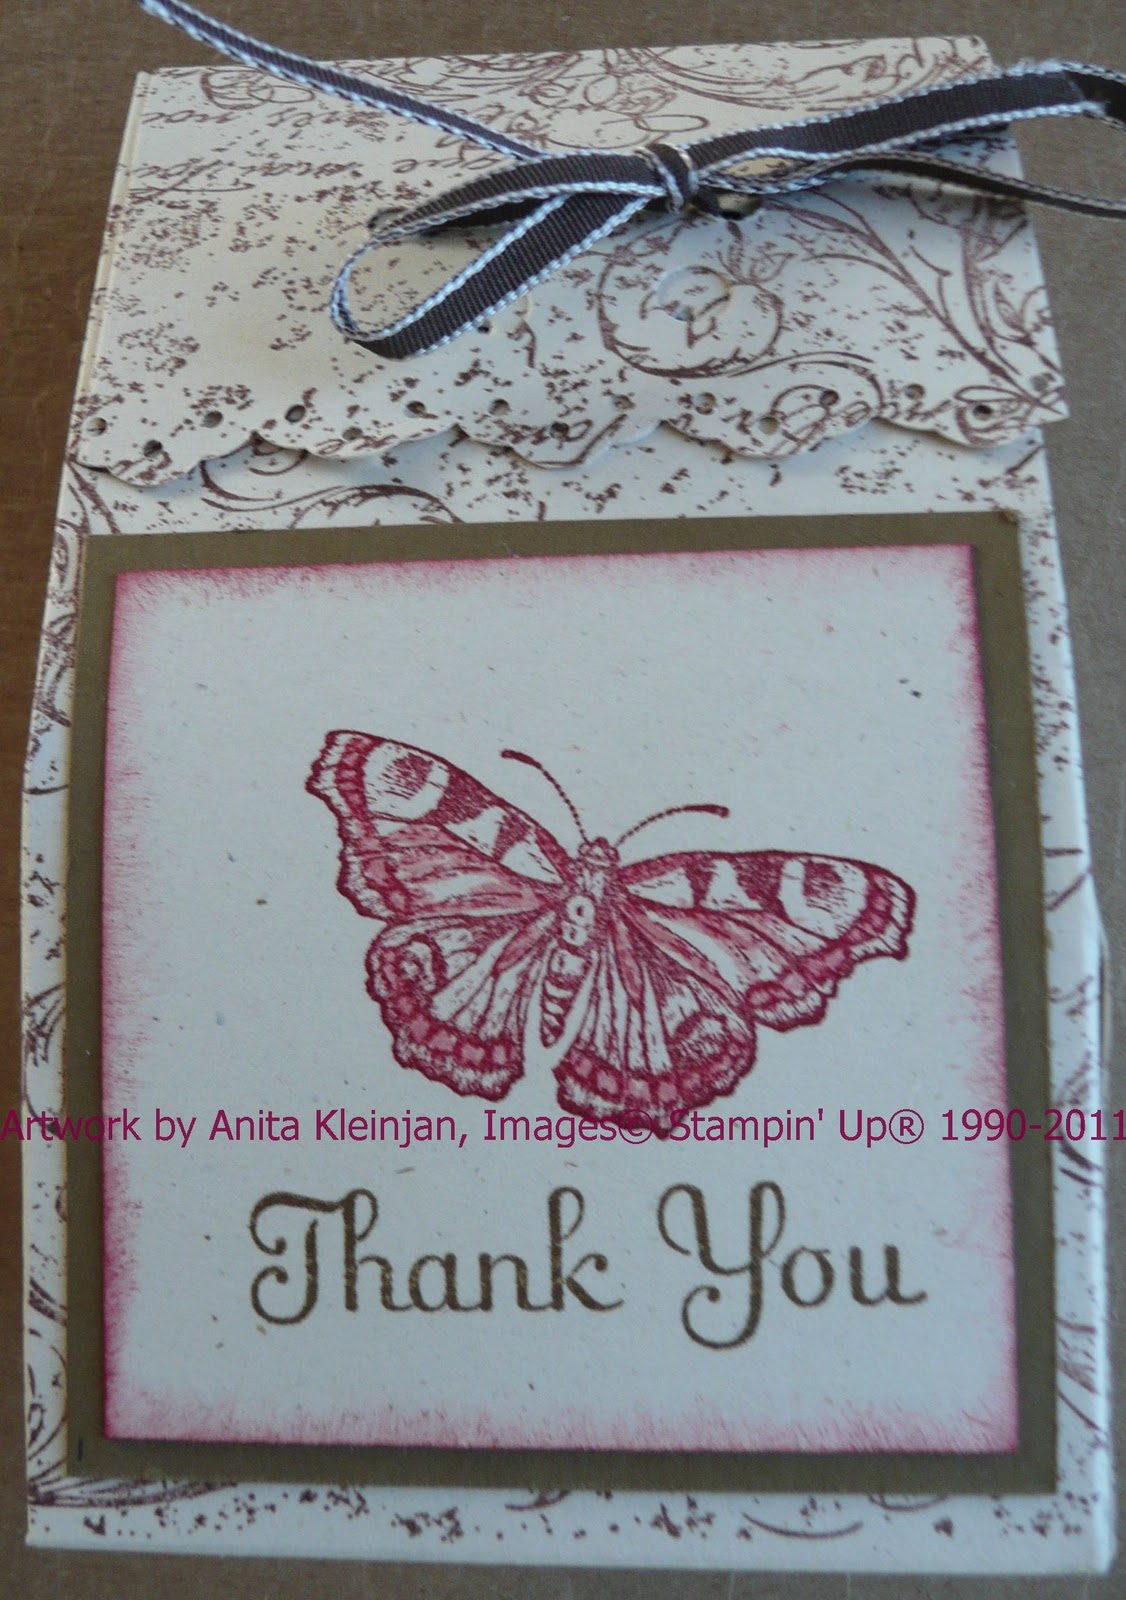
I love the Elegant Lines folder, and have been experimenting using ink on the raised embossed image, and I love the finished effect of the raised image being inked.  To achieve this effect, lay an inkpad gently on the raised image and work until image is inked.  
When I held this card at a distance it looked like a garden with flowers in it.  I hadn't intended that when I started this design. I must say, it felt very summery and fresh!
Use some Crystal Effects to attract the bees, they are always so busy on a summers day collecting nectar. 
The butterflies finish the setting, fluttering about and making us smile.

Stampin' Up! supplies
Cardstock: Old Olive, Certainly Celery, Whisper White
Ink: Pear Pizzazz, Pumpkin Pie, Peach Parfait & Old Olive
Stampset: Flower Fancy
Embossing Folders: Elegant Lines and Beautiful Wings
Other: Crystal Effects, Dimensionals, Tombow Glue

Thanks for stopping by